Creating Element
To create an element for a command line tool, select either Actions ‣ Create element with external tool from the main menu or click the following icon on the toolbar:

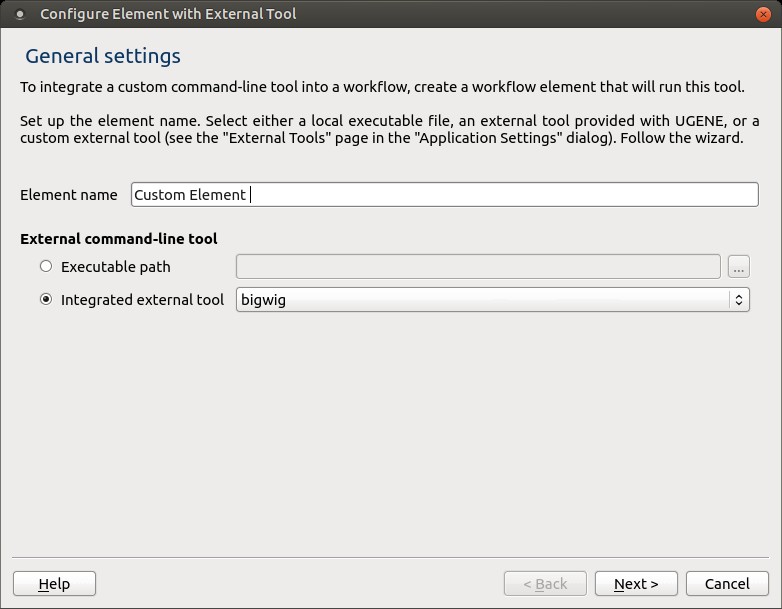
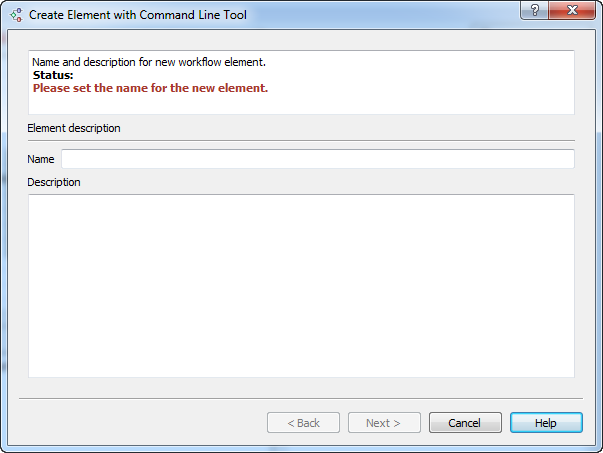
The Configure Element with External Tool wizard appears. On the first page of the wizard, input a name and an external command-line tool. Letters, numbers, and underscores are allowed in the name.
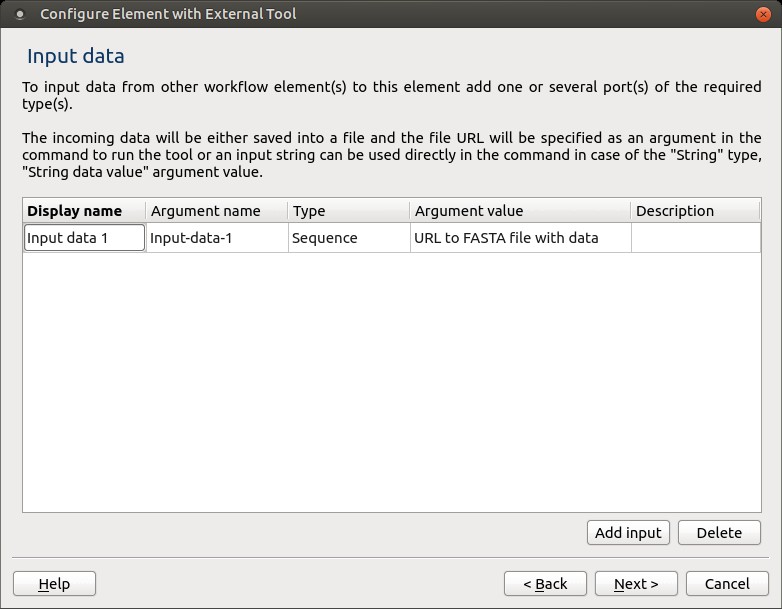
On the second page, add the required input data:
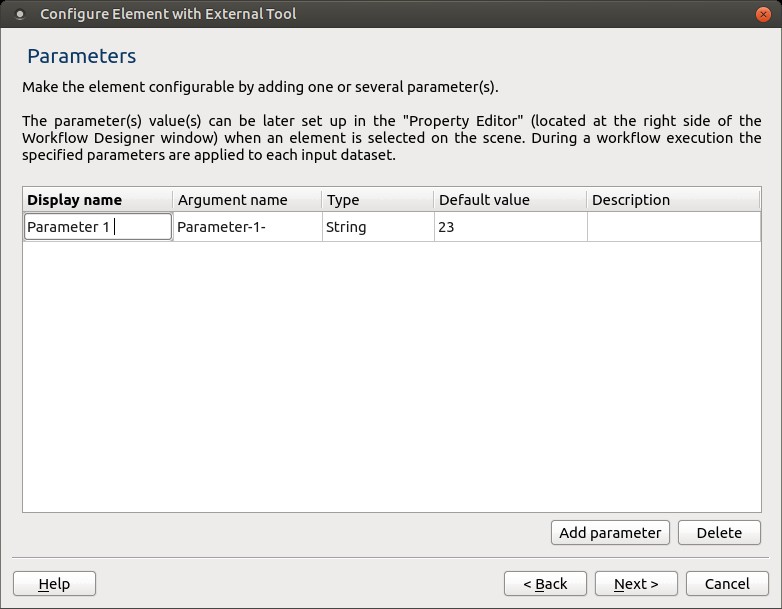
On the third page of the wizard, you can add parameters for the command line tool. Later, you will be able to set values for the parameters in the Property Editor.
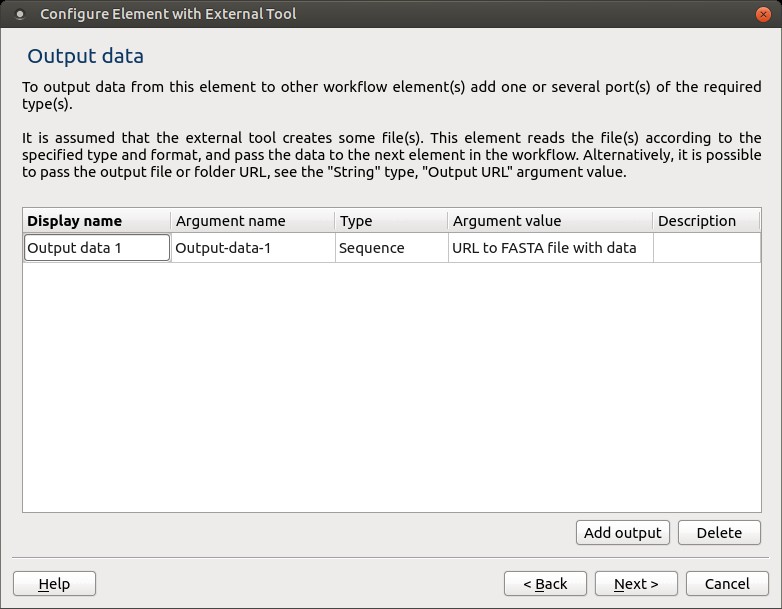
On the next page, add the required output data:
For each input or output, you should:
- Input a name (letters, numbers, and underscores are allowed in the name).
- Select a type: multiple alignment, sequence, sequence with annotations, a set of annotations, or a string.
- Optionally input a description.
For each parameter added, you should:
- Input a name (letters, numbers, and underscores are allowed in the name).
- Select its type: boolean, number, string, or URL.
- Optionally input the description.
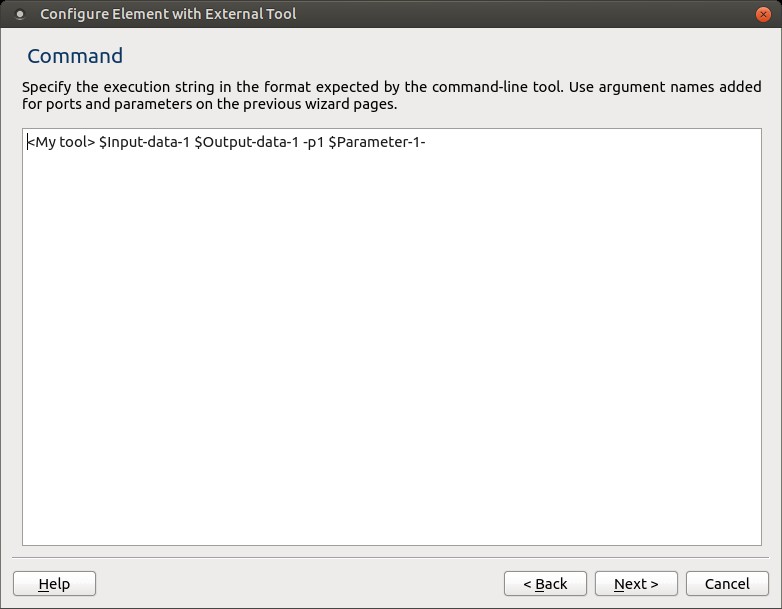
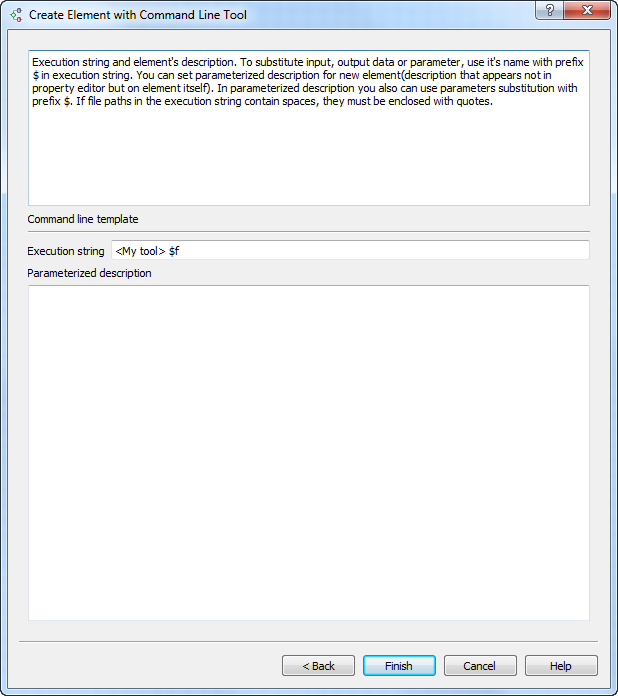
On the next page of the wizard, you should input the execution string, i.e., the command that would be executed.
The signature of the execution string depends on the command that is launched. But the general rule is that input/output data and attributes have the prefix $. You can set the parameterized description for the new element (the description that appears not in the property editor but on the element itself). In the parameterized description, you can also use parameter substitution with the prefix $. If the paths in the execution string contain spaces, they must be enclosed with quotes.
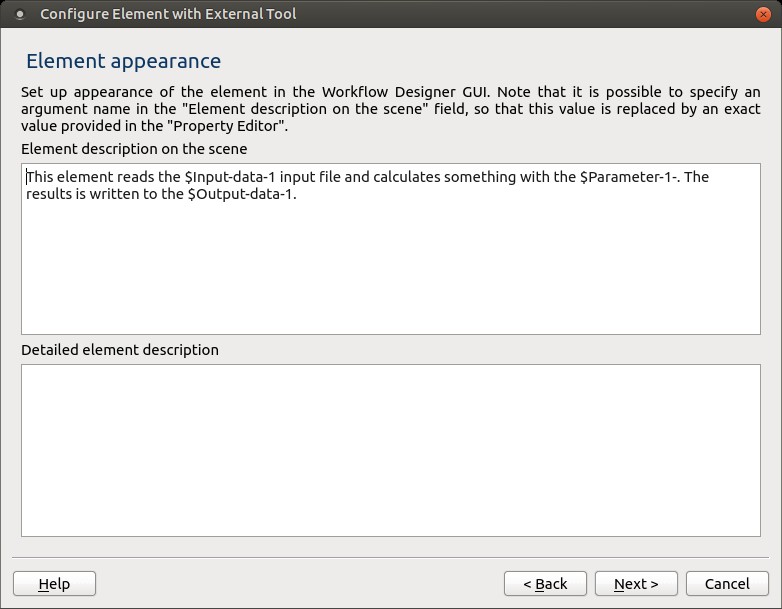
On the next wizard page, you can optionally input the description of the element. It would be shown on the element on the Scene. The description can be parameterized. This means that if you input, for example, an attribute name (with prefix $), the name on the element would be substituted with the value of the corresponding parameter. For example, input the following parameters:
On the next wizard page, you can see the final element summary:
The created element is added to the Workflow Designer scene and can be connected with other elements in a workflow:
The new element also becomes available in the “Custom Elements with External Tools” group on the “Elements” tab of the Workflow Designer palette (at the left part of the window), so that you can use it at any time in another workflow.