How to Use Sample Workflows
The UGENE Workflow Designer contains a set of sample workflows that help biologists solve specific tasks for multiple input files or datasets simultaneously. The list of samples can be found in the Workflow Samples section of the documentation.
To use a sample:
Start the Workflow Designer by selecting “Tools > Workflow Designer” in the main menu of the UGENE window.
See also: the paragraph about launching the Workflow Designer.Select the “Samples” tab on the Workflow Designer palette located on the left side of the opened window.
See also: the tab is described in the Workflow Samples section.Double-click on the required sample. The workflow will be opened and shown on the Workflow Designer scene, which is the center area of the window.
For example, a workflow for doing BLAST and obtaining results from the NCBI server is shown below.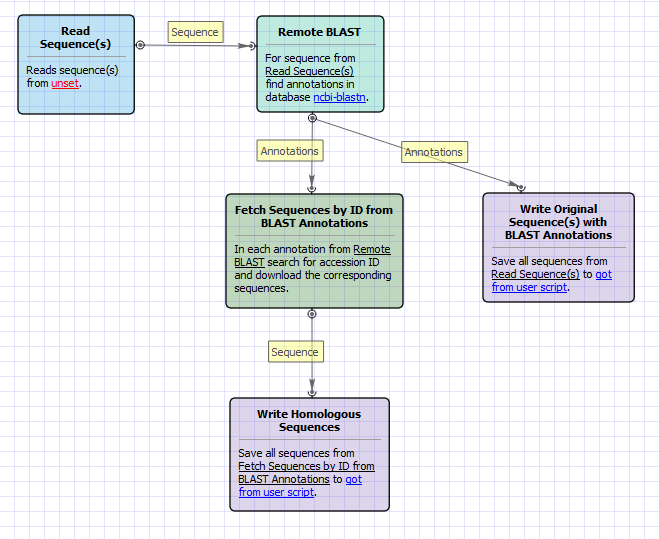
Select the wizard button on the Workflow Designer toolbar (the button is marked in the image below) to start the wizard for the workflow.
Additional technical details: A wizard can be used to configure all the parameters for the workflow more easily. The other way to configure the parameters is by editing them in the Property Editor. A wizard is not available for a newly created workflow, but it can be added by editing the workflow file.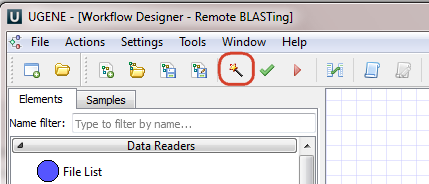
Input the required data. The input varies significantly based on the workflow selected in step 3 (see above).
For example, in the case of the remote BLAST workflow, at least one sequence is expected to be input. In the image below, two sequences were input for the workflow. Buttons that can be used to add different files or even folders with files are also marked on the image.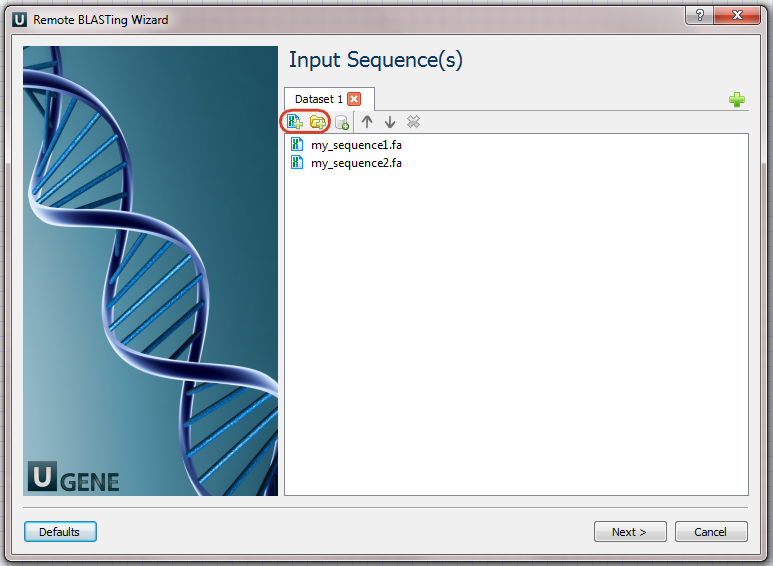
Optionally, modify the workflow parameters on other pages of the wizard.
Click the “Run” button on the last wizard page to execute the workflow.
For example: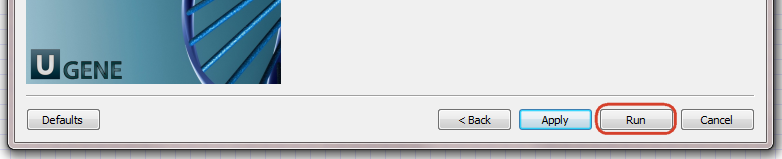
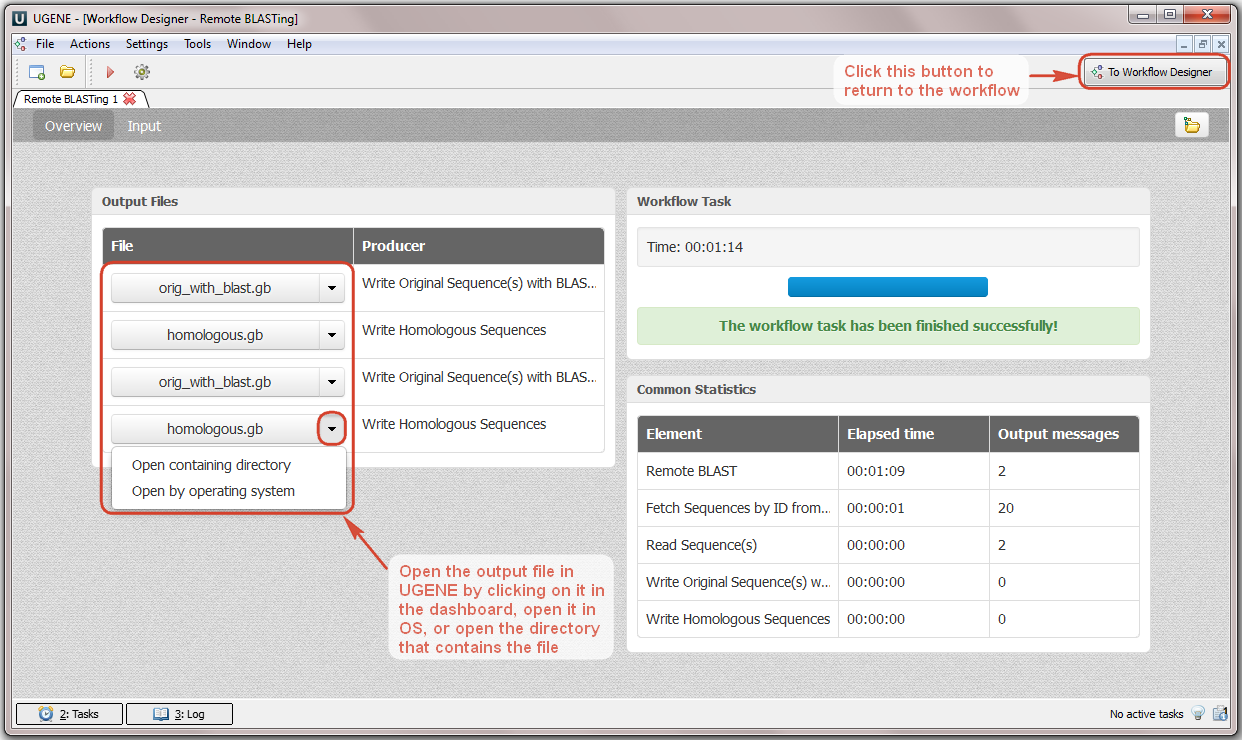
Launching the workflow opens the dashboard. Wait until the workflow is finished. The output files will be available in the corresponding section of the dashboard.
For example, in the case of the remote BLAST workflow, the dashboard will appear as follows: